50 products

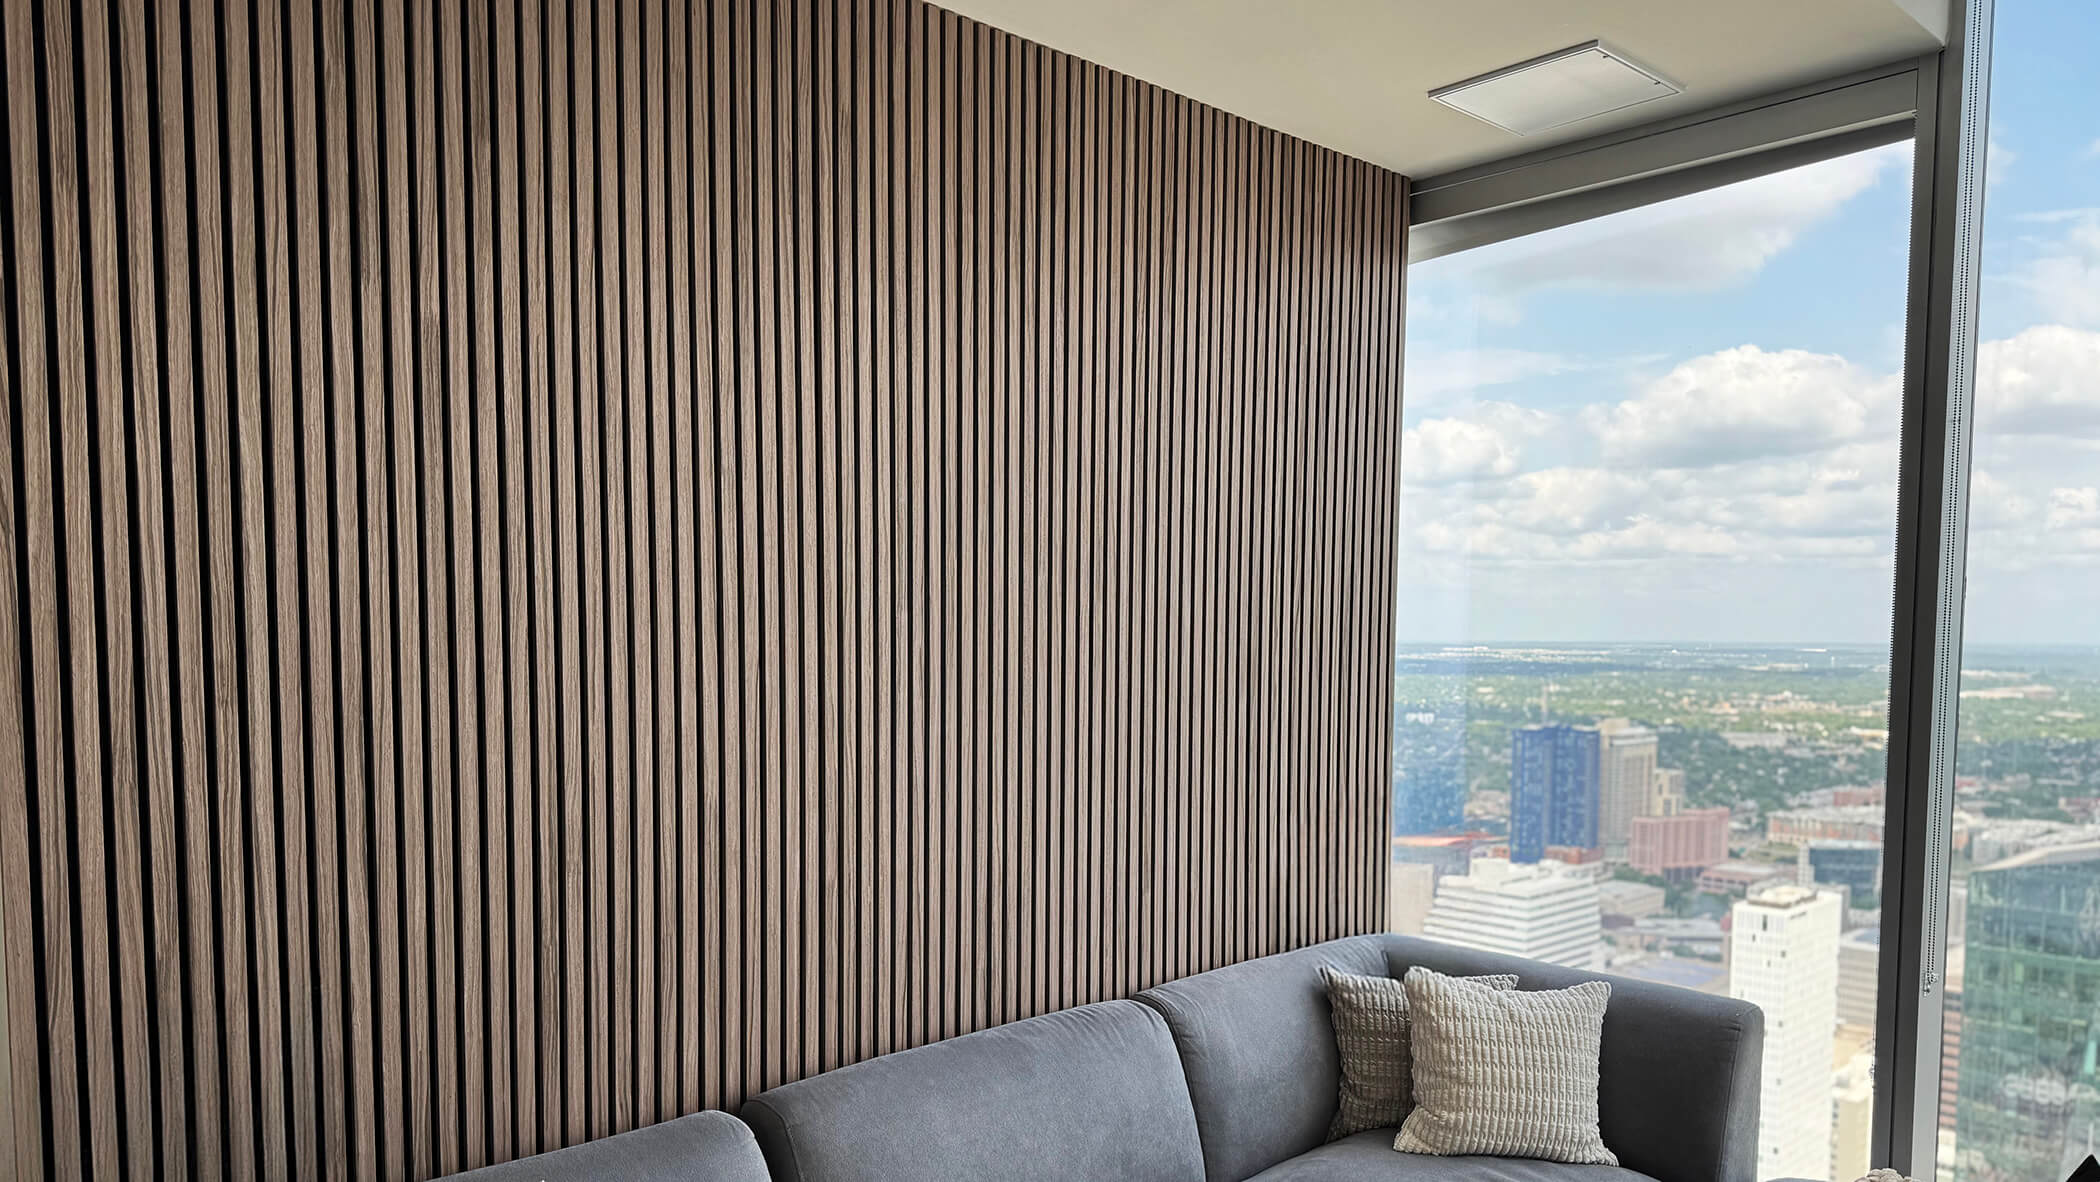
Natural Oak
Acoustic Slat Panels
Natural Oak
Acoustic Slat Panels
Length: 94.5"
Width: 23.8"
From $14.99 $13.49 sq ft


Natural Walnut
Acoustic Slat Panels
Natural Walnut
Acoustic Slat Panels
Length: 94.5"
Width: 23.8"
From $14.99 $13.49 sq ft


Parchment Oak
Acoustic Slat Panels
Parchment Oak
Acoustic Slat Panels
Length: 94.5"
Width: 23.8"
From $12.99 $11.69 sq ft


Noir Oak
Acoustic Slat Panels
Noir Oak
Acoustic Slat Panels
Length: 94.5"
Width: 23.8"
From $12.99 $11.69 sq ft


Natural Walnut
Flexible Tambour Panels
Natural Walnut
Flexible Tambour Panels
Length: 120"
Width: 23.6"
From $19.99 $17.99 sq ft


Natural Oak
Flexible Tambour Panels
Natural Oak
Flexible Tambour Panels
Length: 120"
Width: 23.6"
From $19.99 $17.99 sq ft


Onyx Oak
3D Diamond Panels
Onyx Oak
3D Diamond Panels
Length: 16"
Width: 7.9"
From $16.99 $15.29 sq ft


Polar Oak
3D Diamond Panels
Polar Oak
3D Diamond Panels
Length: 16"
Width: 7.9"
From $19.99 $12.99 sq ft


Carbonized Ash
Forma Wood Tiles
Carbonized Ash
Forma Wood Tiles
Length: 23.6"
Width: 23.6
From $24.99 $22.49 sq ft


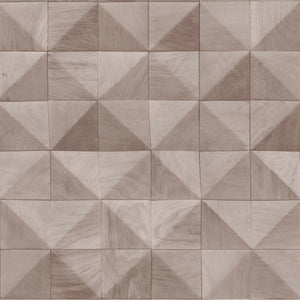
Natural Ash
Forma Wood Tiles
Natural Ash
Forma Wood Tiles
Length: 23.6"
Width: 23.6
From $24.99 $22.49 sq ft


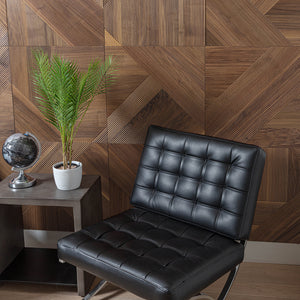
Natural Walnut
Forma Wood Tiles
Natural Walnut
Forma Wood Tiles
Length: 23.6"
Width: 23.6"
From $29.99 $26.99 sq ft


Beachfront Oak
Acoustic Slat Panels
Beachfront Oak
Acoustic Slat Panels
Length: 94.5"
Width: 23.8"
From $12.99 $11.69 sq ft


Cinder Oak
Acoustic Slat Panels
Cinder Oak
Acoustic Slat Panels
Length: 94.5"
Width: 23.8"
From $12.99 $11.69 sq ft


AFD Dark Walnut
Acoustic Slat Panels
AFD Dark Walnut
Acoustic Slat Panels
Length: 108.2"
Width: 24"
From $14.99 $13.49 sq ft
Natural Walnut
Chevron Panels
Natural Walnut
Chevron Panels
Length: 12"
Width: 12"
From $14.99 $13.49 sq ft


Natural Oak
Chevron Panels
Natural Oak
Chevron Panels
Length: 12"
Width: 12"
From $14.99 $13.49 sq ft


AFD Dusty Grey Oak
Acoustic Slat Panels
AFD Dusty Grey Oak
Acoustic Slat Panels
Length: 108.2"
Width: 24"
From $14.99 $13.49 sq ft


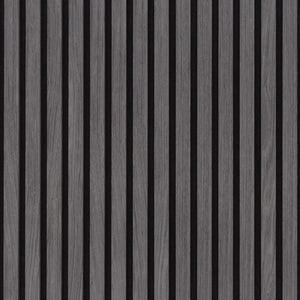
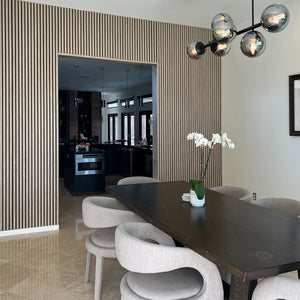
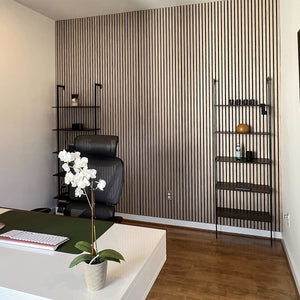
Graphite Oak
Acoustic Slat Panels
Graphite Oak
Acoustic Slat Panels
Length: 94.5"
Width: 23.8"
From $12.99 $11.69 sq ft


Leather Oak
Acoustic Slat Panels
Leather Oak
Acoustic Slat Panels
Length: 94.5"
Width: 23.8"
From $12.99 $11.69 sq ft


AFD Luxury Black Oak
Acoustic Slat Panels
AFD Luxury Black Oak
Acoustic Slat Panels
Length: 108.2"
Width: 24"
From $14.99 $13.49 sq ft


AFD Natural Oak
Acoustic Slat Panels
AFD Natural Oak
Acoustic Slat Panels
Length: 108.2"
Width: 24"
From $14.99 $13.49 sq ft


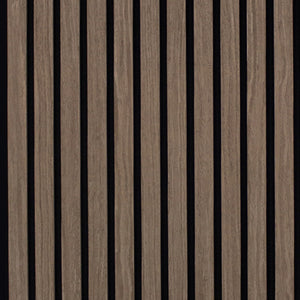
Toasted Walnut
Acoustic Slat Panels
Toasted Walnut
Acoustic Slat Panels
Length: 94.5"
Width: 23.8"
From $12.99 $11.69 sq ft


Toasted Walnut
Acoustic Slat Tiles
Toasted Walnut
Acoustic Slat Tiles
Length: 23.6"
Width: 23.6"
From $9.99 $6.99 sq ft


Raw Natural Oak
Acoustic Slat Panels
Raw Natural Oak
Acoustic Slat Panels
Length: 94.5"
Width: 23.8"
From $12.99 $11.69 sq ft